Welcome back to 12 Days of Blogging Christmas. You can catch up here:
Day 1 – Photo Post
Day 2 – Break Editorial Schedule
Day 3 – Guest Post
Day 4 – Lists
Day 5 – Newsletters
Day 6 is here already and it’s all about the tutorial. Just because you’re on a blogging break of some kind doesn’t mean that you can’t add value to your readers – think about it: Who gains from knowledge? Only you do if you don’t share it!
The tutorial topic will greatly vary by your niche, but the key thing to remember in posting a tutorial is that your readers may have questions, so if you’re going to be hit & miss with internet access over your blogging break, try to schedule the tutorial for a day (or the day before) you know you will have internet access.
What is a tutorial? It is a step by step answer to common problem, a “how to”… or if you want some funny examples, try Urban Dictionary’s definition…and uh, may not be safe for work!
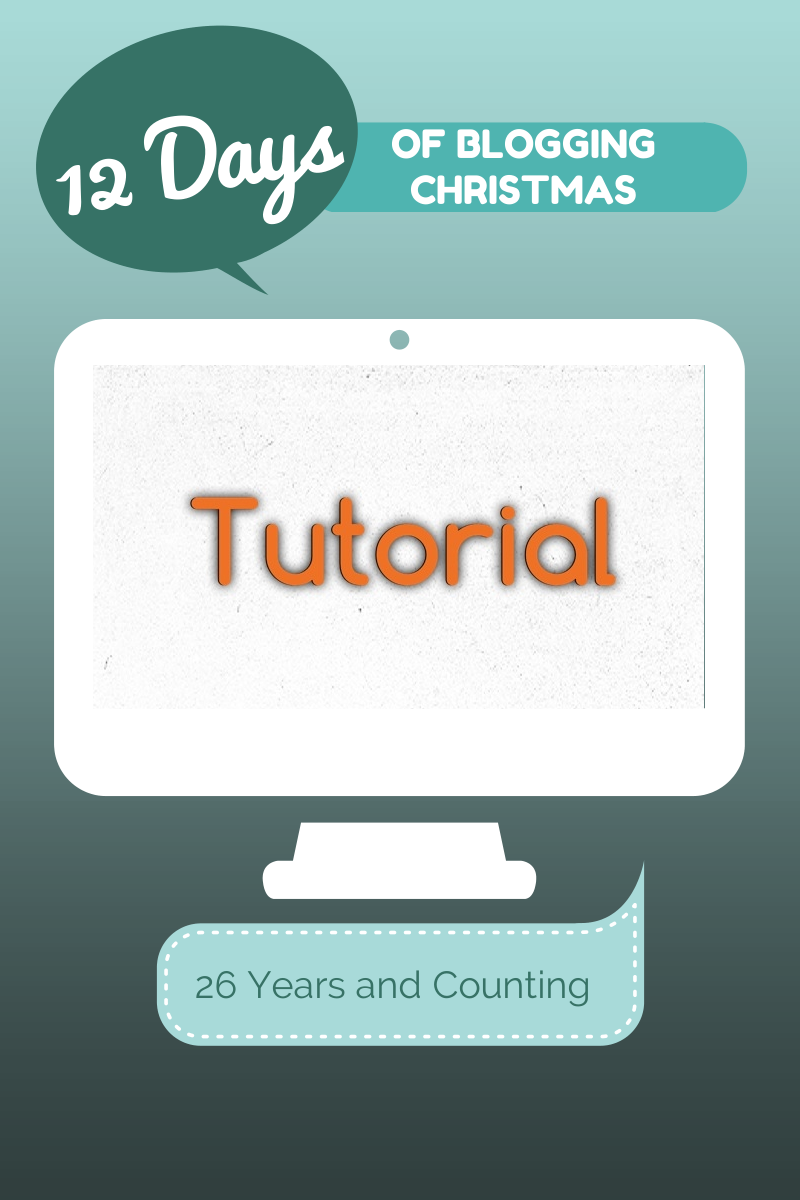
Today I also thought I’d put together a simple tutorial on how I’ve been using Canva to create the series of images for this blog. You’ll see when you use Canva that they have a wide range of images to choose from. I selected mine because I liked the basic computer layout of it, especially for a blogging series. I also liked that the default colours of it went nicely with my website colours. The other factor I liked was the vertical image, which works nicer on Pinterest.
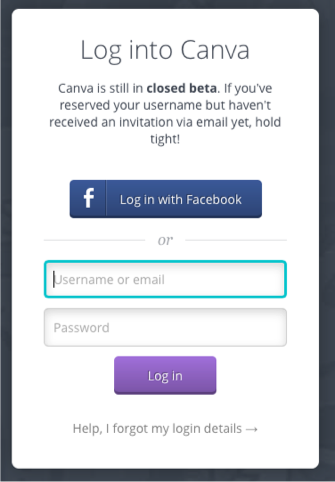
To start, head to www.canva.com and log in. If you don’t yet have an account, I still have a couple of invitations I can give away, so let me know!
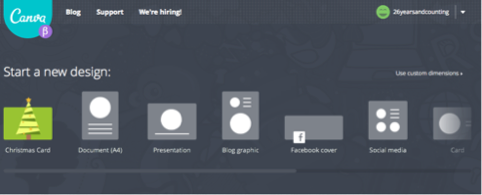
Once you’re logged in, Canva takes you to a home page, which shows all of your saved designs and lets you start a new one. For this tutorial, I selected ‘Blog Graphic’:
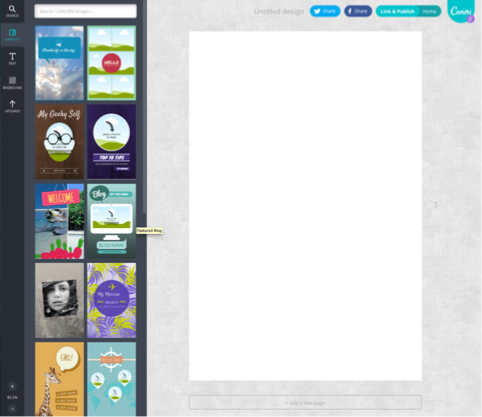
When start a new design, Canva opens this in a new tab. You then have a blank canvas to work from. On the left hand side you can see a wide range of template options:
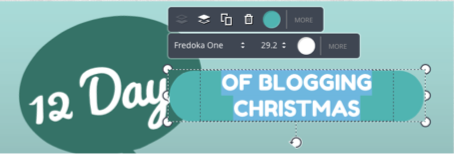
Each template has simple and easy to use editing features for each element, including:
- font size
- font type
- colour
- placement
- delete the element
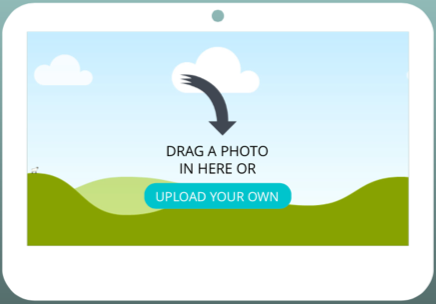
My editing process to make the blog graphics has been pretty simple. I add the text you can see above, include my blog name down the bottom and then delete one element that I had no use for. Once I’ve done that, I upload the photo I created on my iPhone with the topic name for that day. I use Color Cap for many of my text-based graphics and totally love it. I’ve covered apps similar to this in a previous post.
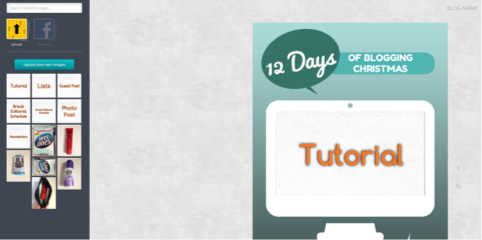
The upload feature works the same as any other upload feature – just direct it to wherever you saved the photo on your computer and voila – Canva will upload it, insert it into your image library and insert it into your graphic:
After uploading the photo, I’m pretty much done with creating my blog graphic. So I head over to the Link & Publish button at the top right:
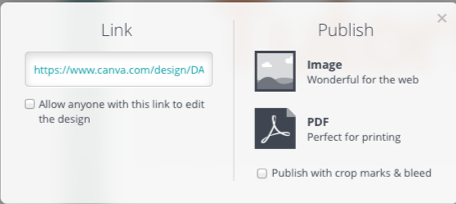
For these graphics (and everything else I’ve played with in Canva so far), I have been selecting the “Image Export” option. I also leave the edit with link option unticked, as I’m the only person who works on my blog:
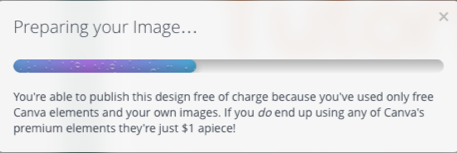
Once you’ve selected the publish option, a bubbly and decorative loading screen comes up. Only, Canva is so fast at this stage that it’s actually a bit hard to get a screenshot of it:
After that, the image is ready! Mine automatically downloads to my set folder, but if your computer doesn’t do that, they provide the link so you can access it straight away:
I also have a few tips on how I created this tutorial about tutorials – I’m a Mac user, so I’m not sure how to do this on Linux or Windows. I went through my usual design process in Canva and used Control-Command-Shift-4 to draw the part of the screen I wanted to screenshot. I then pasted this into a Pages document. When it came time to write the blog post, I copied the screenshot and used Preview (New -> Image from Clipboard) to save the screenshot as an image and do any cropping I needed. Then I just uploaded it as per usual into WordPress.
Have you ever posted a tutorial on your blog? How do you find they work for you?
Want to read more:
Day 7 – Case Study
Day 8 – Story
Day 9 – Printable





[…] Day 6 – Tutorial […]
[…] Day 6 – Tutorial […]